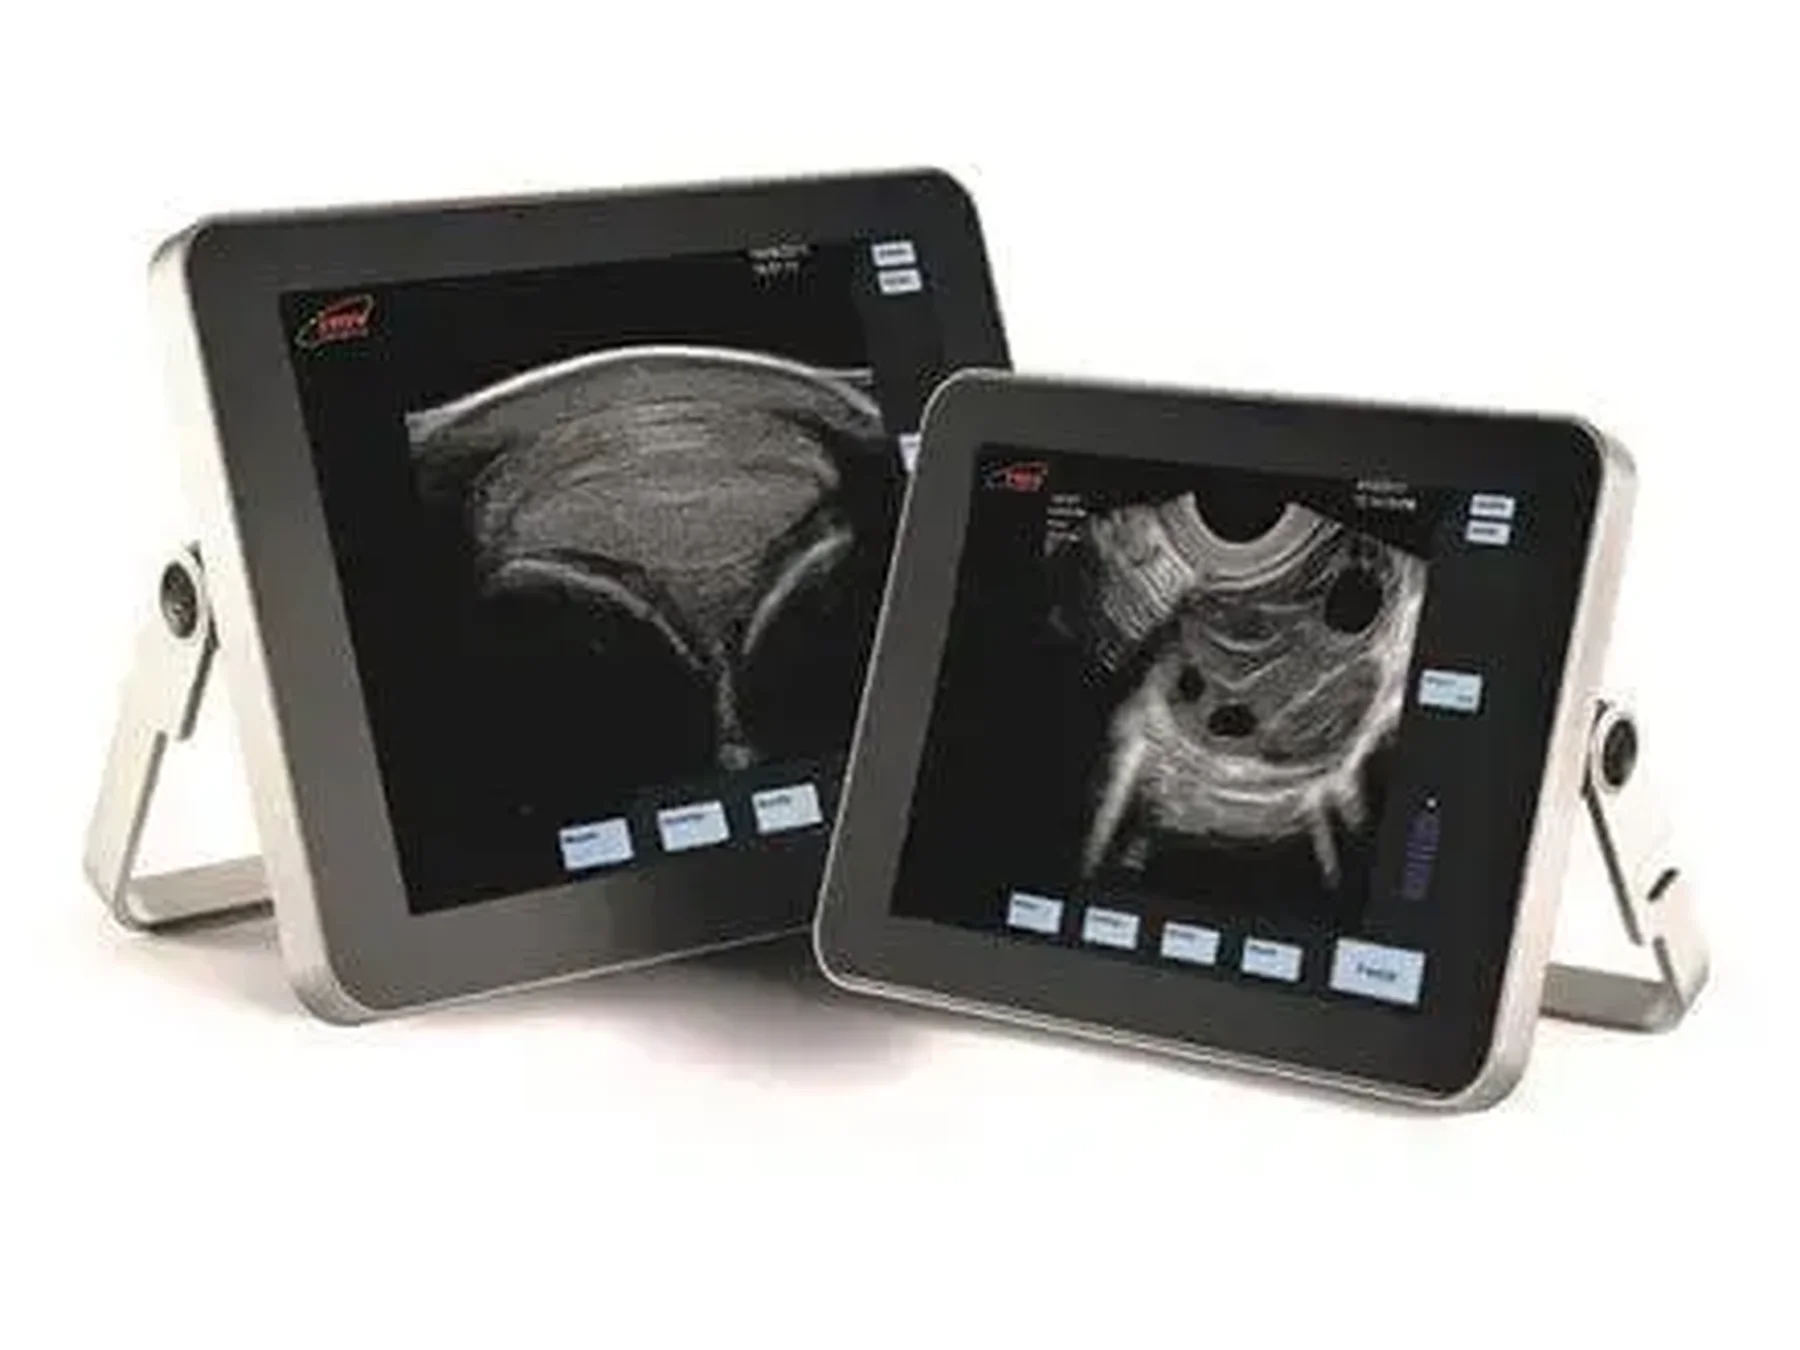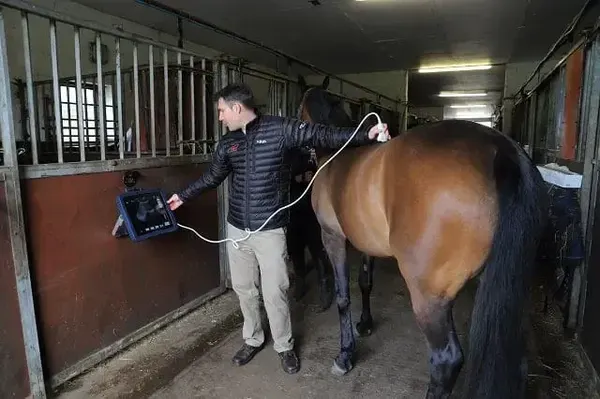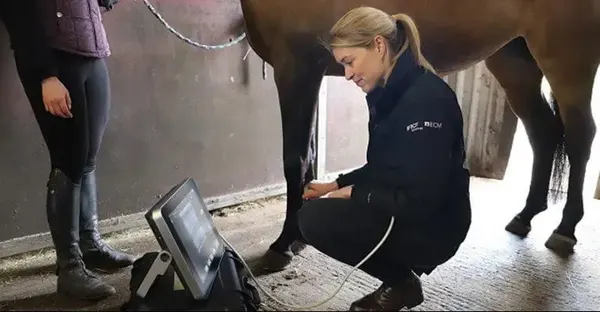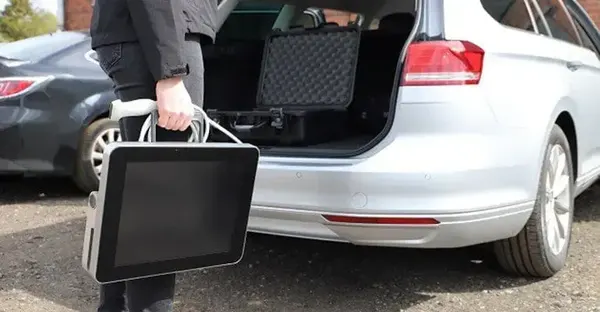
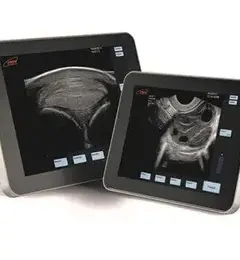
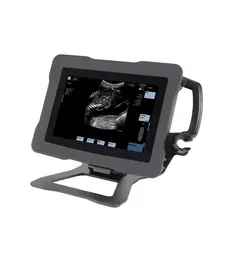
The ExaPad is a compact touchscreen ultrasound scanner, featuring high quality imaging, ease of use and robustness, making it ideal for equine vets, mixed practice as well as advanced applications in farm animals.
1
The ExaPad is a robust ultrasound system that has been designed, developed and manufactured specifically for the veterinarian and is suitable for equine, farm and mixed practice use. The ExaPad can be used for musculoskeletal, abdominal, reproductive and cardiac imaging.
Exceptional image quality, long cable length and screen size, OPU needle guide and ExaPad’s two probe connectors all contribute to OPU, embryo transfer and farm fertility procedures with ease.
Portability and external battery of the ExaPad range and Ecotext and Biotronics software integration allows Exapad to be used for testicular and backfat scanning to improve genetic animals’ selection.
The streamlined interface allows for easy annotation of images and the ability to perform detailed measurements. Patient files and reports can be generated, and a pdf output of the report provided. Patient files, reports, annotations, and specific measurements are all adapted to veterinary work.
Great portability, 1 hour battery life, long cables and a wide range of probes enable ease of use for working around horses in the stable or practice.
High resolution 192 element probes for high quality equine tendon and abdominal scanning.15 inch touchscreen interface.
The EchoTouch interface presents only the necessary scanner functions on the screen, making the work of the user faster and more efficient. Advanced settings remain simple to access.
The embedded software, EchoVoice provides voice control over the main functions of the scanner, allowing you to work with complete autonomy even when you are further away from the device.
With the EchoPad app installed on your iPad, you can control your Exapad ultrasound scanner remotely. Your own presets, saved in your iPad can be used on the ExaPad.


| System type (portable/cart) | Portable |
| Console form (clam shell/touchscreen) | Touchscreen |
| Number of probe connectors on console | 2 |
| Screen size | 15 inch |
| Optional trolley | |
| Multi-probe compatibility on trolley | Y x2 |
| Colour Doppler | |
| Pulse Wave Doppler | |
| Continuous Wave Doppler | |
| ECG | Opt |
| Width (mm) | 390 |
| Depth (mm) | 300 |
| Height (mm) | 70 |
| AED | 5.9 |
| Battery included? | |
| Battery life (mins) | 60 |
| Warranty | 2 years |
| Small animal | |
| Exotic | |
| Equine | |
| Bovine | |
The Exapad benefits from a wide range of probes making it an excellent solution for all equine applications, from reproduction to cardiology. Exapad specific LC1038V linear and C550V convex probes use 192 elements to provide the highest quality tendon and abdominal imaging.
For Exapad can be paired with LR760V rectal probe to provide a great solution for equine repro vets. The system can also be used with a dedicated microconvex based OPU probe for Ovum Pick Up work.
The Exapad scanner can be used with a portable trolley making it perfect for use in practice.
You have vertical lines on your ultrasound image
Vertical lines can be caused by different things:
Broken crystals on the lens of your probe
Cut wire inside the probe cable
Dirty probe connector
Bent connector cam (on the probe)
Bent pins on the connector (on the device)
There is not much that can be done with the first two items, however most of the time, vertical lines are due to a bad connection between the probe connector and the device. So, make sure the connector is clean on both sides (probe and device), that the connector cam on the probe is not bent, and that the pins on the device’s side are not bent.
Your patients have disappeared from your patient list
No Worries! , your patients and images are not lost, if this happens, please contact your local dealer, we will explain how to run a little program on your ultrasound device that will retrieve all your patients and put them back in the patient list.
You have difficulties to perform an upgrade
Make sure the USB key provided for the upgrade is well connected to the scanner
To make sure the USB key is well recognized by the device go to the Export section and check if your USB key is visible in the under the “export to” tab.
Make sure the directory contained on the USB key is called: UPGRADE_96CX, if not, the Exapad will not recognize the USB key as an upgrade key.
The scanner won’t switch on
Make sure the battery is charged. Plug the scanner to an electrical outlet and check if the yellow light is on. If they yellow light does not turn on, then your device is not charging and your battery may be empty, in this case, your power supply may have a problem.
Remove the battery, plug the charger and see if the device starts without the battery. If it does, then your battery may be defective.
Your ultrasound scanner did not start and displays a blue recovery screen
Contact your local dealer to ask if the system needs to be returned for service. In most cases, just a reboot will be enough to restart your ultrasound system.
Switch the system off with the back switch
Plug the system to an electric plug
Wait for 5 minutes
Restart the scanner, the scanner will take longer than usual to start.
*For this not to happen, make sure you switch off the device with the front switch, higher left corner.
What do the power lights mean?
Green: system is powered on
Yellow: System is charging
Blue: Computer working (blinking)
My equipment is not working, what do I do now?
If you have a problem with your imaging system, call our team on Tel: +44 (0)1506 460 023. You may also find some useful information in our product support area of this site.